GitHub Integration Guide
This guide covers two things: setting up a GitHub App for user login and re-runs, and integrating PixelCI into your GitHub Actions workflows.
Part 1: GitHub App Setup
PixelCI uses a GitHub App (not an OAuth App) for user login, repository access, and re-running jobs after approval.
1. Create a GitHub App
Go to Settings > Developer settings > GitHub Apps > New GitHub App (for an organization: Organization settings > Developer settings).
Fill in:
- GitHub App name:
PixelCI(or any unique name) - Homepage URL:
https://<your-pixelci-domain> - Callback URL:
https://<your-pixelci-domain>/login(must be exactly${PUBLIC_URL}/login, wherePUBLIC_URLis the server's configured public origin) - Expire user authorization tokens: On
- Request user authorization (OAuth) during installation: Off
- Enable Device Flow: Off
- Webhook: Inactive (uncheck Active)
Under Permissions, set:
| Scope | Permission | Purpose |
|---|---|---|
| Metadata | Read | Required by GitHub |
| Contents | Read | Read commit subject and author |
| Actions | Read and write | Re-run the failed job after approval |
| Pull requests | Read | Optional; fallback for commit info on pull request builds |
Under Where can this GitHub App be installed?, choose Only on this account, then create it. Anyone who can access an installation of the App can sign in to PixelCI, so allowing installs on any account would let any GitHub user create their own installation and log in.
On the App's settings page:
- Note the App ID and Client ID
- Click Generate a new client secret and note it
- Click Generate a private key and keep the downloaded
.pemfile
2. Install the App
Open Install App and install it on the account or organization, selecting the repositories you want to test. PixelCI only lists repositories where the App is installed.
3. Create a VCS Integration
On first launch, PixelCI shows an onboarding wizard that walks you through creating your first VCS integration. Enter the Setup Token (the SETUP_TOKEN environment variable on the server; at least 16 characters), choose GitHub, and enter:
| Field | Value |
|---|---|
| App ID | From the App's settings page |
| Client ID | From the App's settings page |
| Client Secret | The client secret you generated |
| Private key | Contents of the .pem file |
| OIDC audience | Prefilled with your PixelCI origin. This must equal the PIXELCI_API_URL used in your workflows |
| GitHub Enterprise URL | Optional. Leave blank for github.com; see GitHub Enterprise Server |
4. Log In
After creating the integration, click the GitHub login button to sign in.
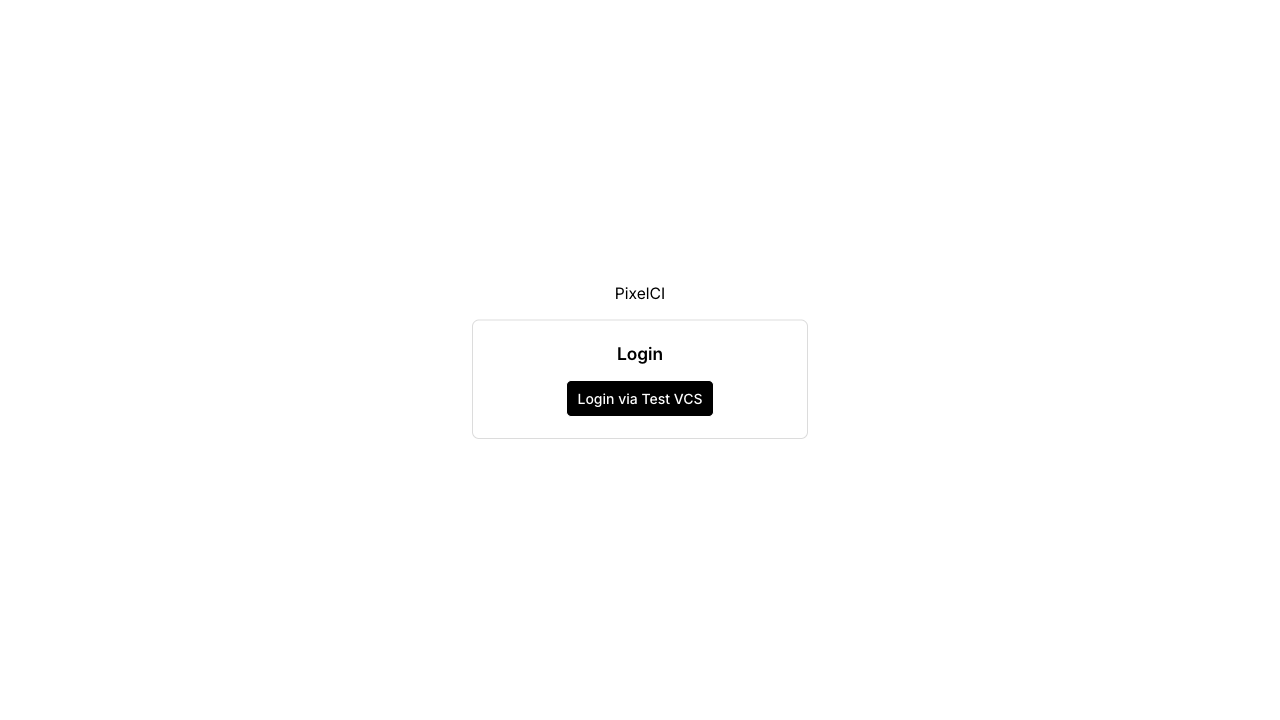
While no admin exists, a user who signs in with the setup token (remembered from the onboarding wizard, or typed on the login page) is promoted to admin. Keep SETUP_TOKEN set until that has happened.
WARNING
You must have access to at least one installation of the App to log in. Install the App (step 2) before the first login.
WARNING
On github.com, anyone with a GitHub account who has access to an installation of your App can log in. Public repositories are readable by any logged-in user. Review Access Control before exposing the instance publicly.
Part 2: GitHub Actions Integration
1. Create an App in PixelCI
In the PixelCI web UI, click Add App. Search for your repository by name (the search lists repositories where the GitHub App is installed and you have access) or paste its URL, then set the app name and default branch.
2. Add PixelCI to Your Workflow
name: Visual regression

on:
    push:

permissions:
    contents: read
    id-token: write

jobs:
    visual-regression:
        runs-on: ubuntu-latest
        steps:
            - uses: actions/checkout@v4
            # ...build your app and generate screenshots...
            - uses: docker://ghcr.io/zyno-io/pixelci/cli:latest
              env:
                  PIXELCI_API_URL: https://pixelci.example.com
                  PIXELCI_APP_ID: <your-app-id>
                  PIXELCI_IMAGES_PATH: ./path/to/screenshots
permissions: id-token: write is required: the CLI authenticates with the job's OIDC token, so no secrets are needed. You can find the app ID in the PixelCI web UI on the app settings page.
Don't let push and pull_request both run for the same commit. A pull_request run tests GitHub's merge commit, so the two runs create separate builds; if both need review at the same time, each must be approved separately. To use both triggers, limit push to your default branch:
on:
    push:
        branches: [main]
    pull_request:
The container step runs in /github/workspace, so relative screenshot paths resolve against your checkout.
3. Supported Events
| Event | Supported | Notes |
|---|---|---|
push | Yes | Tag pushes create a branch named after the tag |
pull_request | Yes | Keyed on the PR's head branch; built from the merge commit sha |
workflow_dispatch | Yes | |
schedule | Yes | |
pull_request_target, workflow_run, issue_comment, merge_group | No | Rejected |
Pull requests from forks are not supported, because GitHub does not issue OIDC tokens to them.
4. CLI Environment Variables
| Variable | Required | Description |
|---|---|---|
PIXELCI_API_URL | Yes | URL to your PixelCI server; must equal the integration's OIDC audience |
PIXELCI_APP_ID | Yes | App ID from the PixelCI web UI |
PIXELCI_IMAGES_PATH | No | Path to screenshots directory (alternative to passing as argument) |
PIXELCI_TIMEOUT_MINUTES | No | How long to wait for the build result (default 15, range 1-120) |
PIXELCI_SHARD | No | <index>/<total> (1-based) when the suite is split across parallel jobs, e.g. 2/4. Requires a server with sharded-build support |
Exit code 0 only for no changes and changes approved. Every other outcome exits 1: needs review, changes rejected, failed, a timeout, an API error, and any status this CLI version doesn't recognise. Transient API errors (network failures, HTTP 408/425/429/5xx) are retried with backoff before failing.
5. How It Works
The CLI reads ACTIONS_ID_TOKEN_REQUEST_URL and ACTIONS_ID_TOKEN_REQUEST_TOKEN (provided when id-token: write is granted) to request an OIDC token for your PixelCI audience, and sends it to the API. The API verifies the token's signature and claims against GitHub, checks that the repository matches the app, and fetches the commit subject and author using the GitHub App. OIDC tokens live for 5 minutes, which is enough to create the build; the rest of the session uses a per-build token.
The CLI then:
- Creates a build via the API (validates the OIDC token)
- Uploads all PNG files as screens
- Triggers build processing
- Polls for completion (15-minute timeout by default; see
PIXELCI_TIMEOUT_MINUTES) - Exits with code 0 (pass) or 1 (anything else), printing a direct link to the build in PixelCI
6. Screenshot Naming
PNG files are named by their relative path from the screenshots directory. The .png extension is stripped, and the rest of the path becomes the screen name:
| File path | Screen name |
|---|---|
login.png | login |
checkout/step-1.png | checkout/step-1 |
admin/users/list.png | admin/users/list |
7. Build Outcomes
| Exit code | Build status | Meaning |
|---|---|---|
0 | no changes | All screenshots match approved baselines |
0 | changes approved | Changes were previously approved |
1 | needs review | New changes require human approval in the UI |
When a build needs review (or was rejected), the CLI emits an ::error annotation, writes a summary to the job's step summary (GITHUB_STEP_SUMMARY), and prints a link to the build in PixelCI.
8. Approve and Re-run
After you approve the changes in the web UI, PixelCI re-runs the failed job through the GitHub API and sends you to the workflow run. The OIDC token carries the job's id, so PixelCI re-runs exactly that job; if it is unavailable, PixelCI re-runs the failed jobs of the run instead. The re-run is matched to the approved build and passes.
Things to know:
- The re-run uses the approving user's GitHub token, so that user needs write access to the repository.
- GitHub won't re-run a job while other jobs of the same workflow run are still in progress. In that case PixelCI tells you the workflow is still running and re-runs the job automatically once the run finishes (it checks every minute, for up to 6 hours). It gives up after that, or on a non-transient error; if the job hasn't re-run a few minutes after the workflow finishes, re-run it from the link PixelCI shows.
- Runs older than 30 days can't be re-run by PixelCI. PixelCI shows a link to the run so you can re-run it manually from GitHub.
9. Running the CLI Outside GitHub Actions
Not supported. The CLI relies on the Actions OIDC token and cannot run outside GitHub Actions (or GitLab CI).
GitHub Enterprise Server
Set GitHub Enterprise URL on the integration (for example https://github.example.com). PixelCI then uses:
- API:
https://<host>/api/v3 - OIDC issuer:
https://<host>/_services/token
Some GHES versions omit the check_run_id claim from the OIDC token. In that case PixelCI re-runs the failed jobs of the whole run instead of the single job.
Troubleshooting
| Symptom | Likely cause |
|---|---|
401 creating the build | PIXELCI_API_URL does not equal the integration's OIDC audience; or id-token: write is missing; or the event is unsupported |
401 / app mismatch | The app is bound to a different repository than the workflow is running in |
| Fork pull request fails | Forks get no OIDC token; not supported |
| Login rejected | Your account has no access to an installation of the GitHub App |
| Repository missing from Add App search | The App is not installed on it, or you lack access; paste its URL instead |
| Approval succeeds but job is not re-run | No write access or run older than 30 days; re-run manually from the link shown. If the run is still in progress, PixelCI re-runs it automatically when it finishes (checked every minute, up to 6 hours; it gives up after that or on a non-transient error, so if the job hasn't re-run a few minutes after the workflow finishes, re-run it from the link shown) |
| Org uses SAML SSO | Authorize the GitHub App for the organization, otherwise access checks fail |