Using PixelCI
A walkthrough of the PixelCI web UI for reviewing visual regression test results.
Login
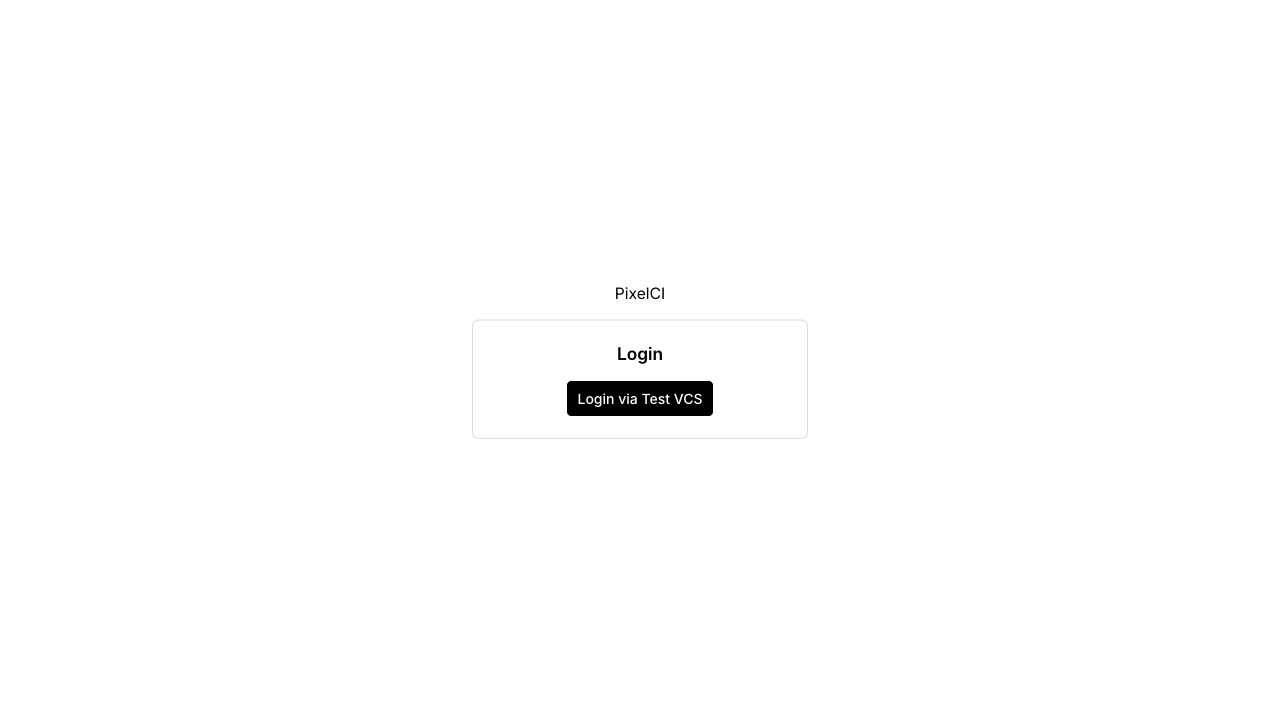
Visit your PixelCI instance and log in via your configured OAuth provider (e.g. GitLab).
Apps List
After logging in, you'll see your apps. PixelCI only shows apps whose VCS project your account can access — access mirrors what GitLab grants you. (Operators can disable this filtering; see ENFORCE_VCS_PROJECT_ACCESS.)
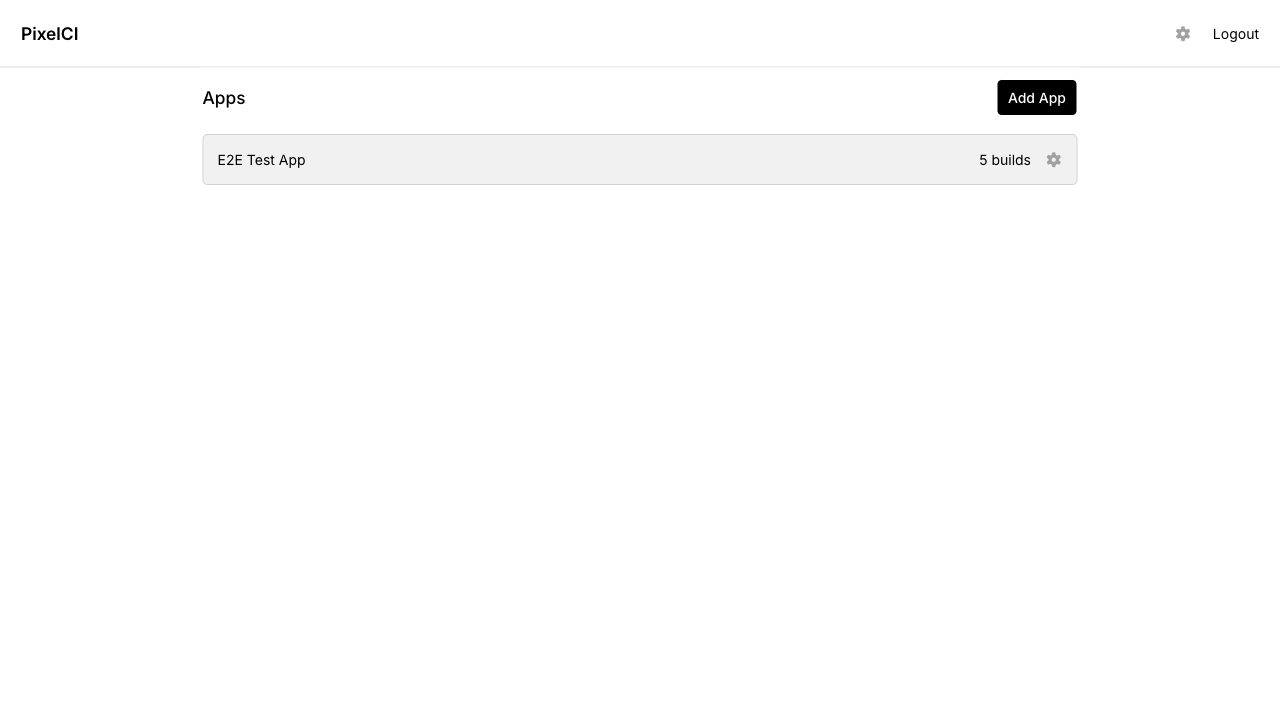
Click an app to view its builds.
Build List
The build list shows all builds for an app, grouped by branch. Each build displays its status:
- Needs Review — new visual changes detected that need approval
- No Changes — all screenshots match approved baselines
- Changes Approved — all changes in this build have been approved
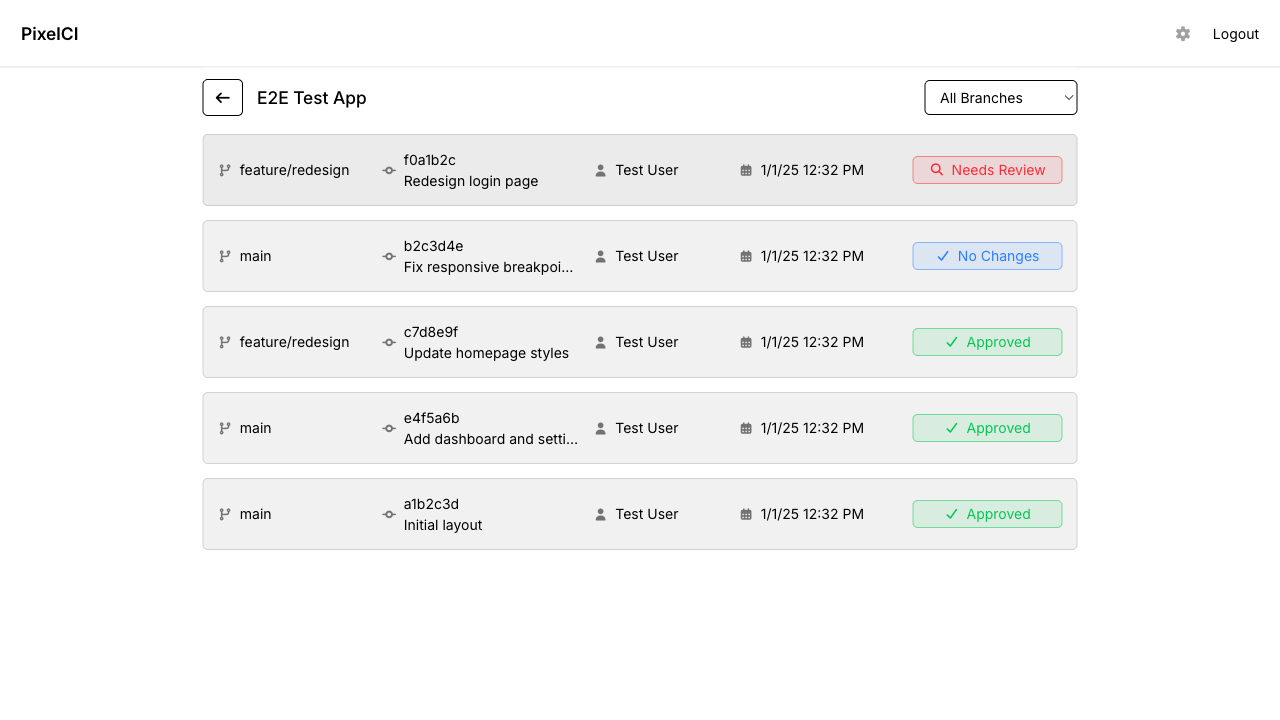
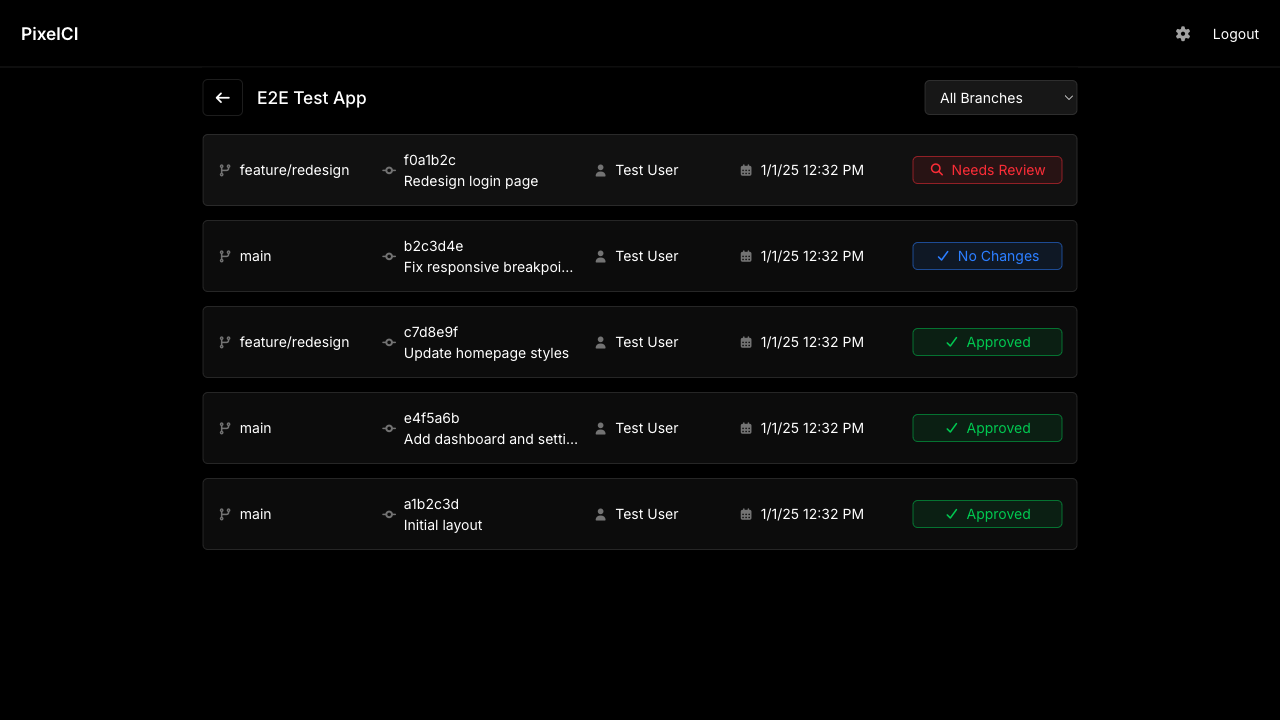
Click a build to view its screenshots.
Screen Comparison
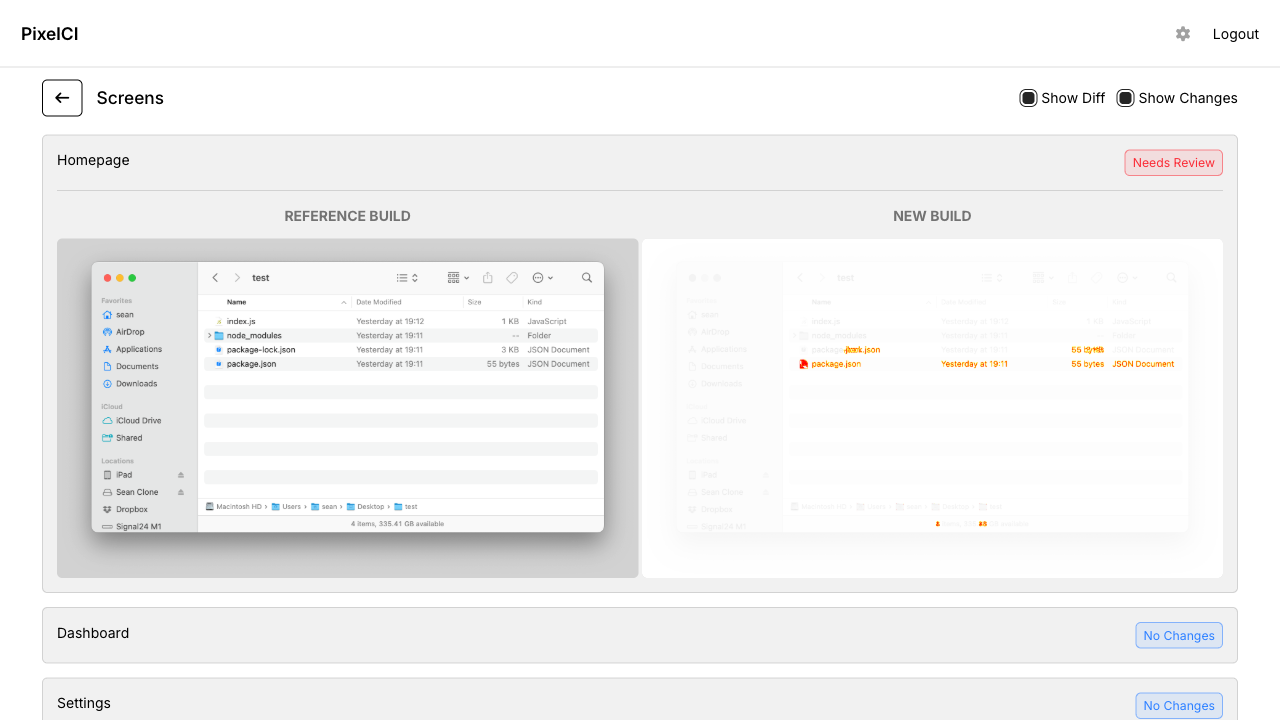
The screen comparison view shows screenshots from the new build alongside the reference build (the approved baseline on the default branch).
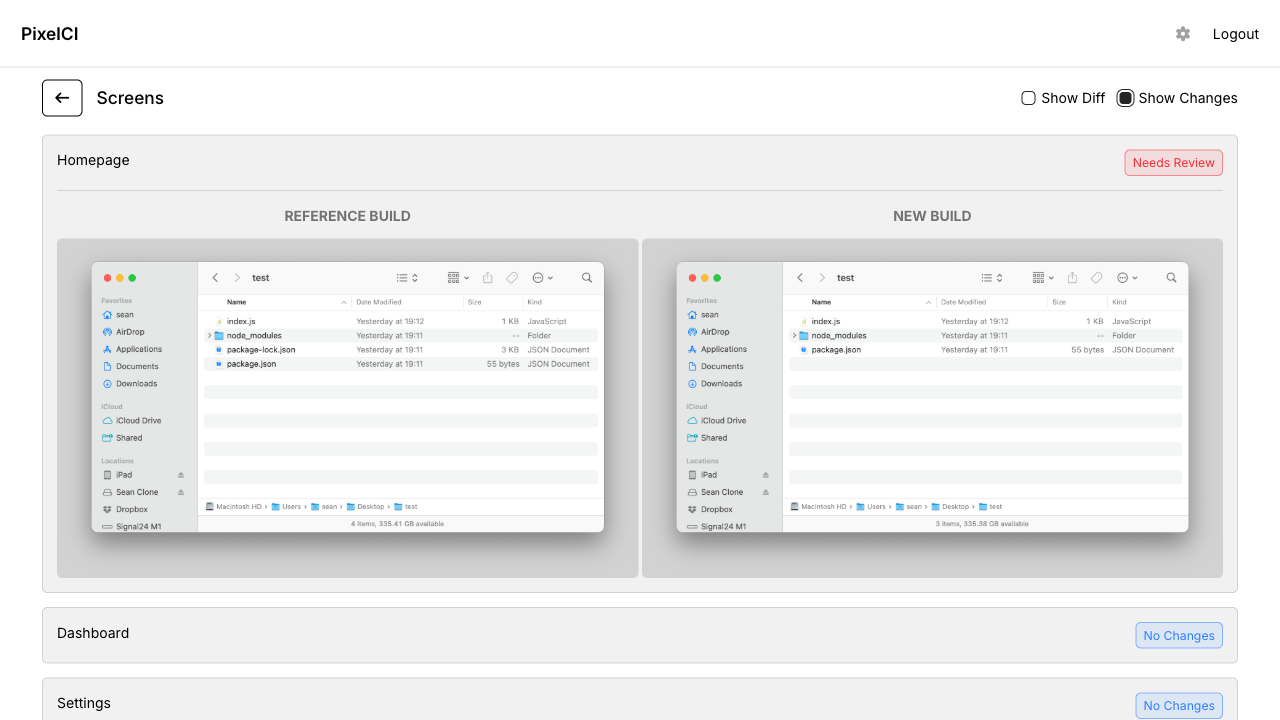
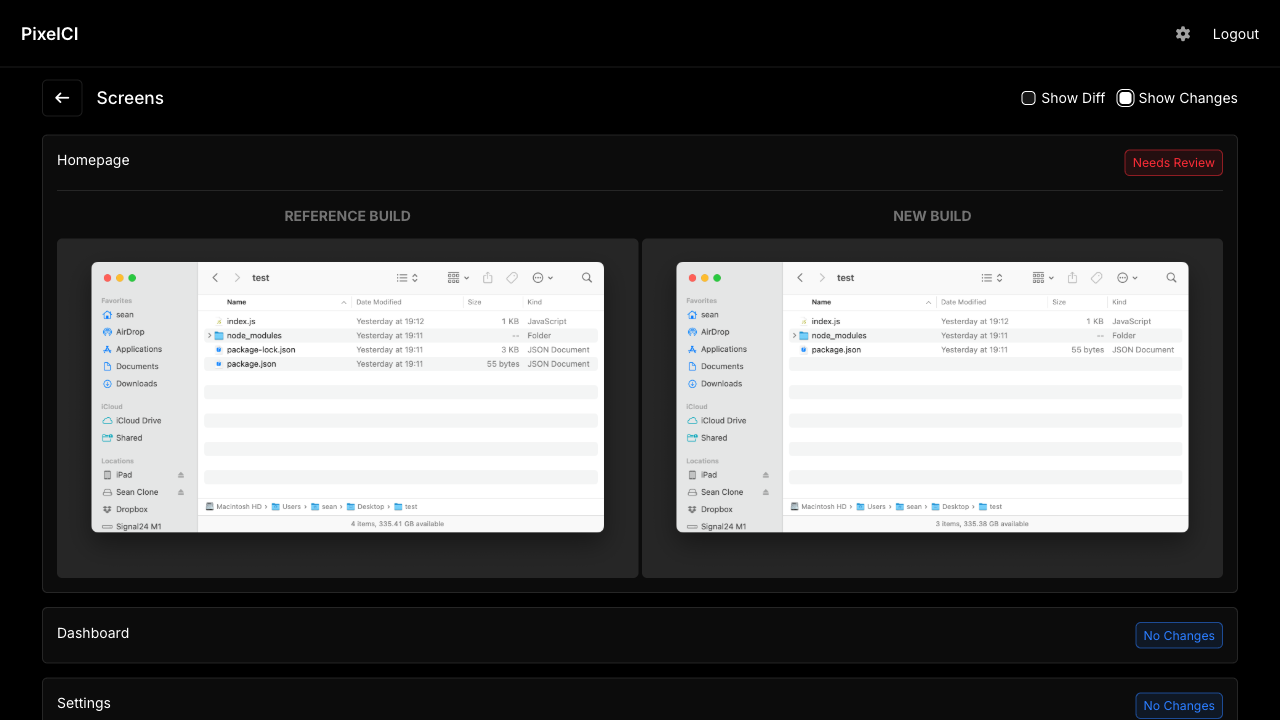
Show Changes
Use the Show Changes toggle to filter the view to only screens that have visual differences. This helps you focus on what's changed without scrolling through unchanged screens.
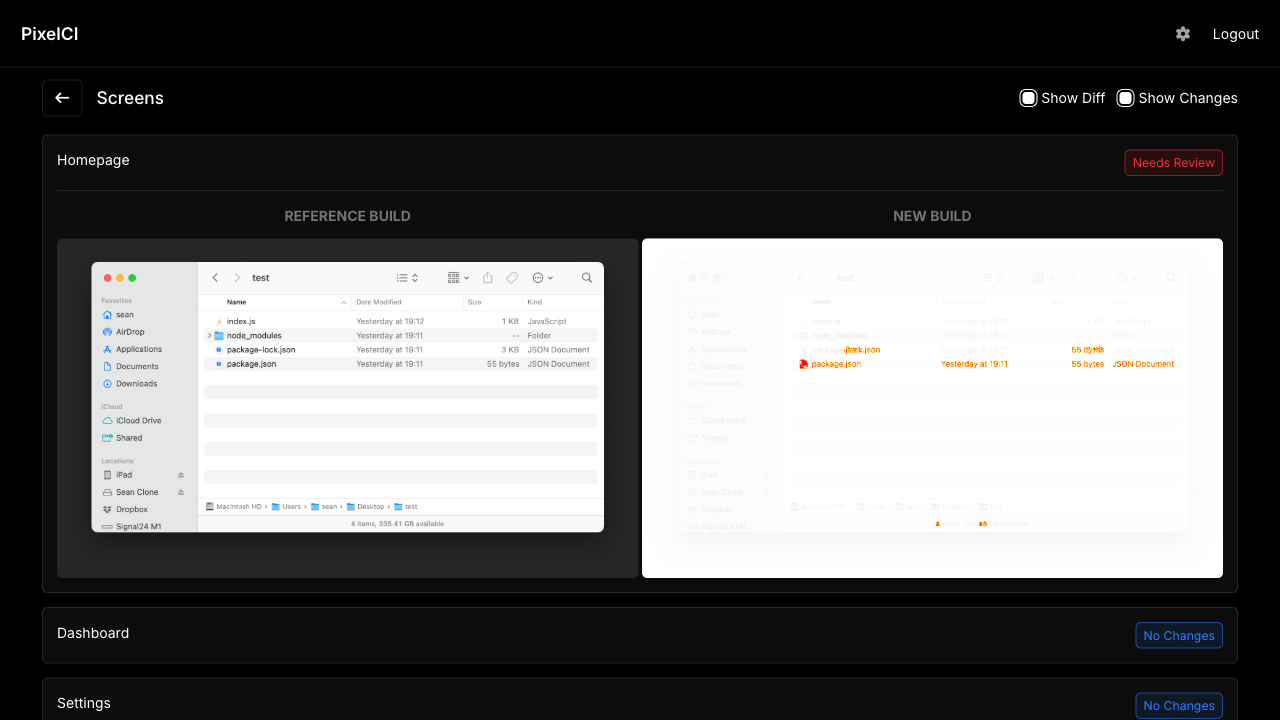
Show Diff
Enable Show Diff to highlight pixel differences between the reference and new screenshots. Changed pixels are overlaid on the image so you can see exactly what moved or changed.
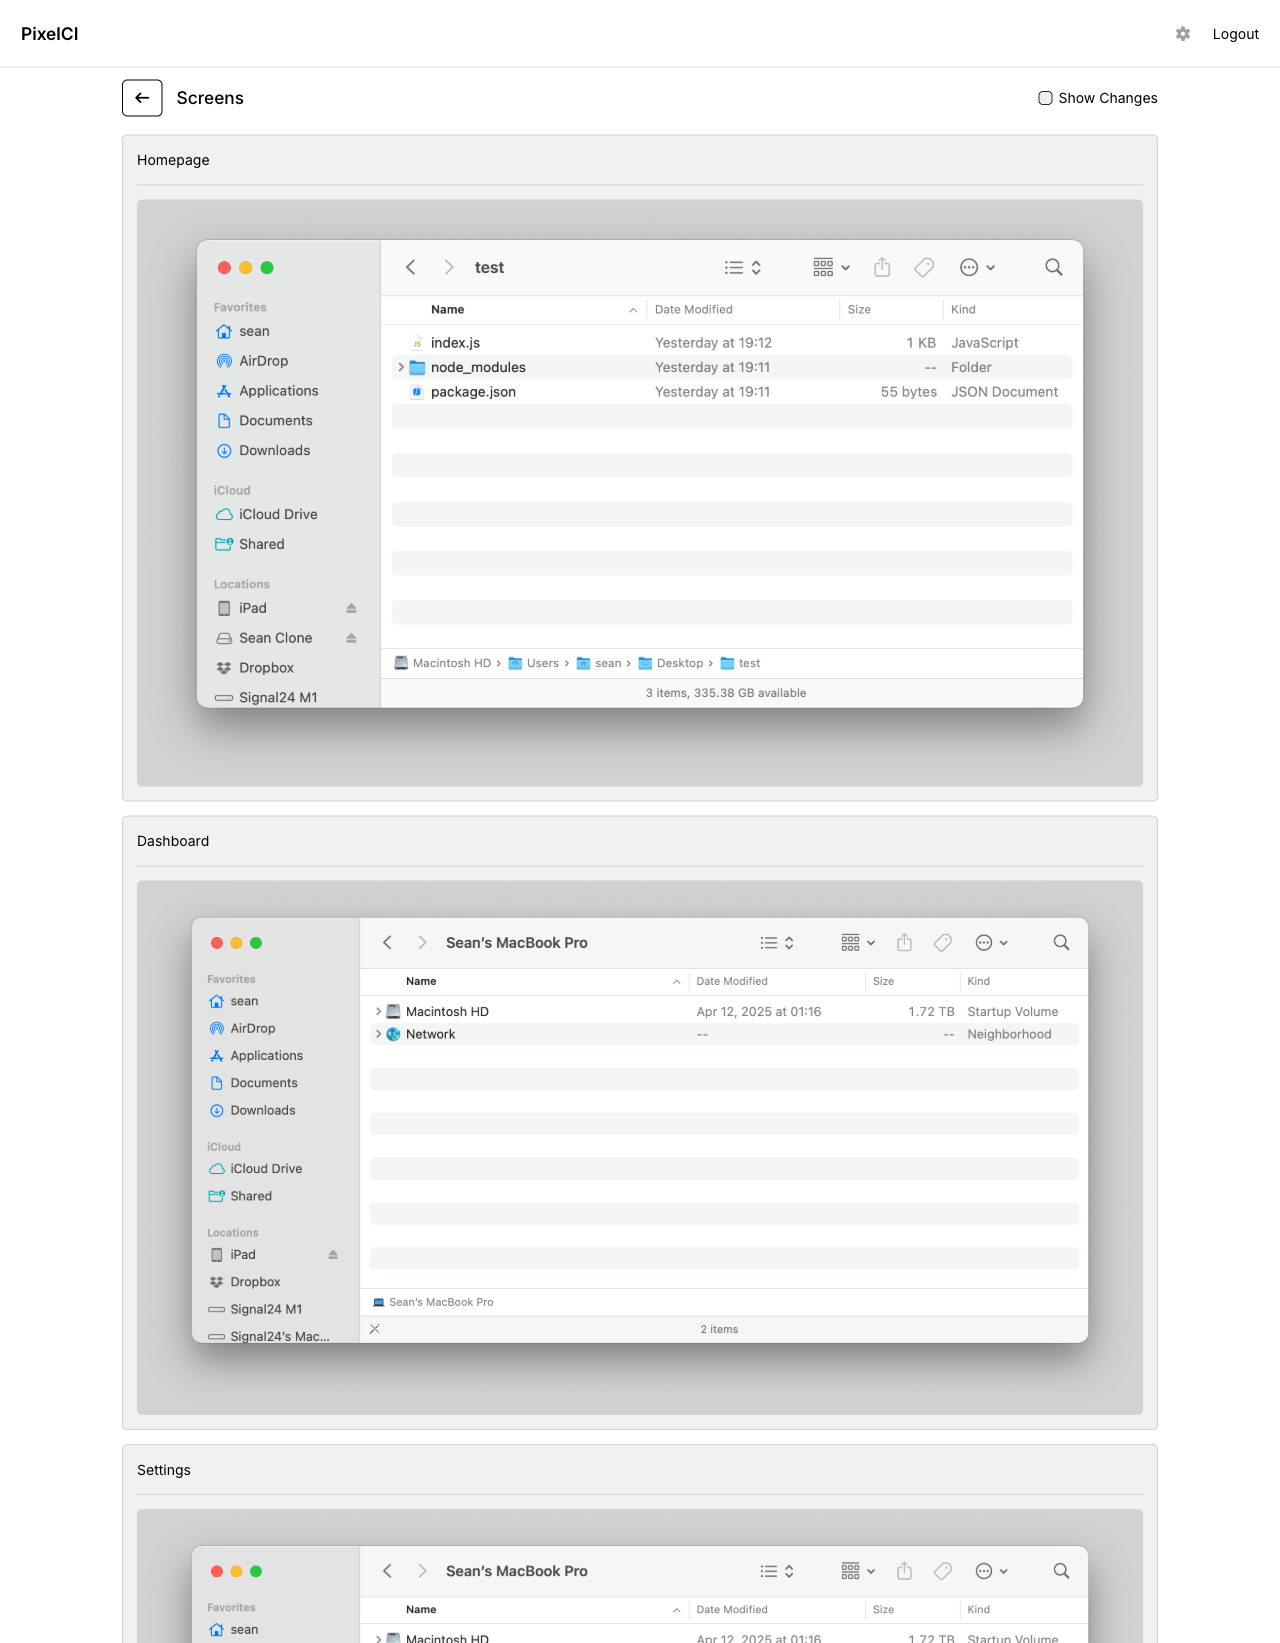
All Screens
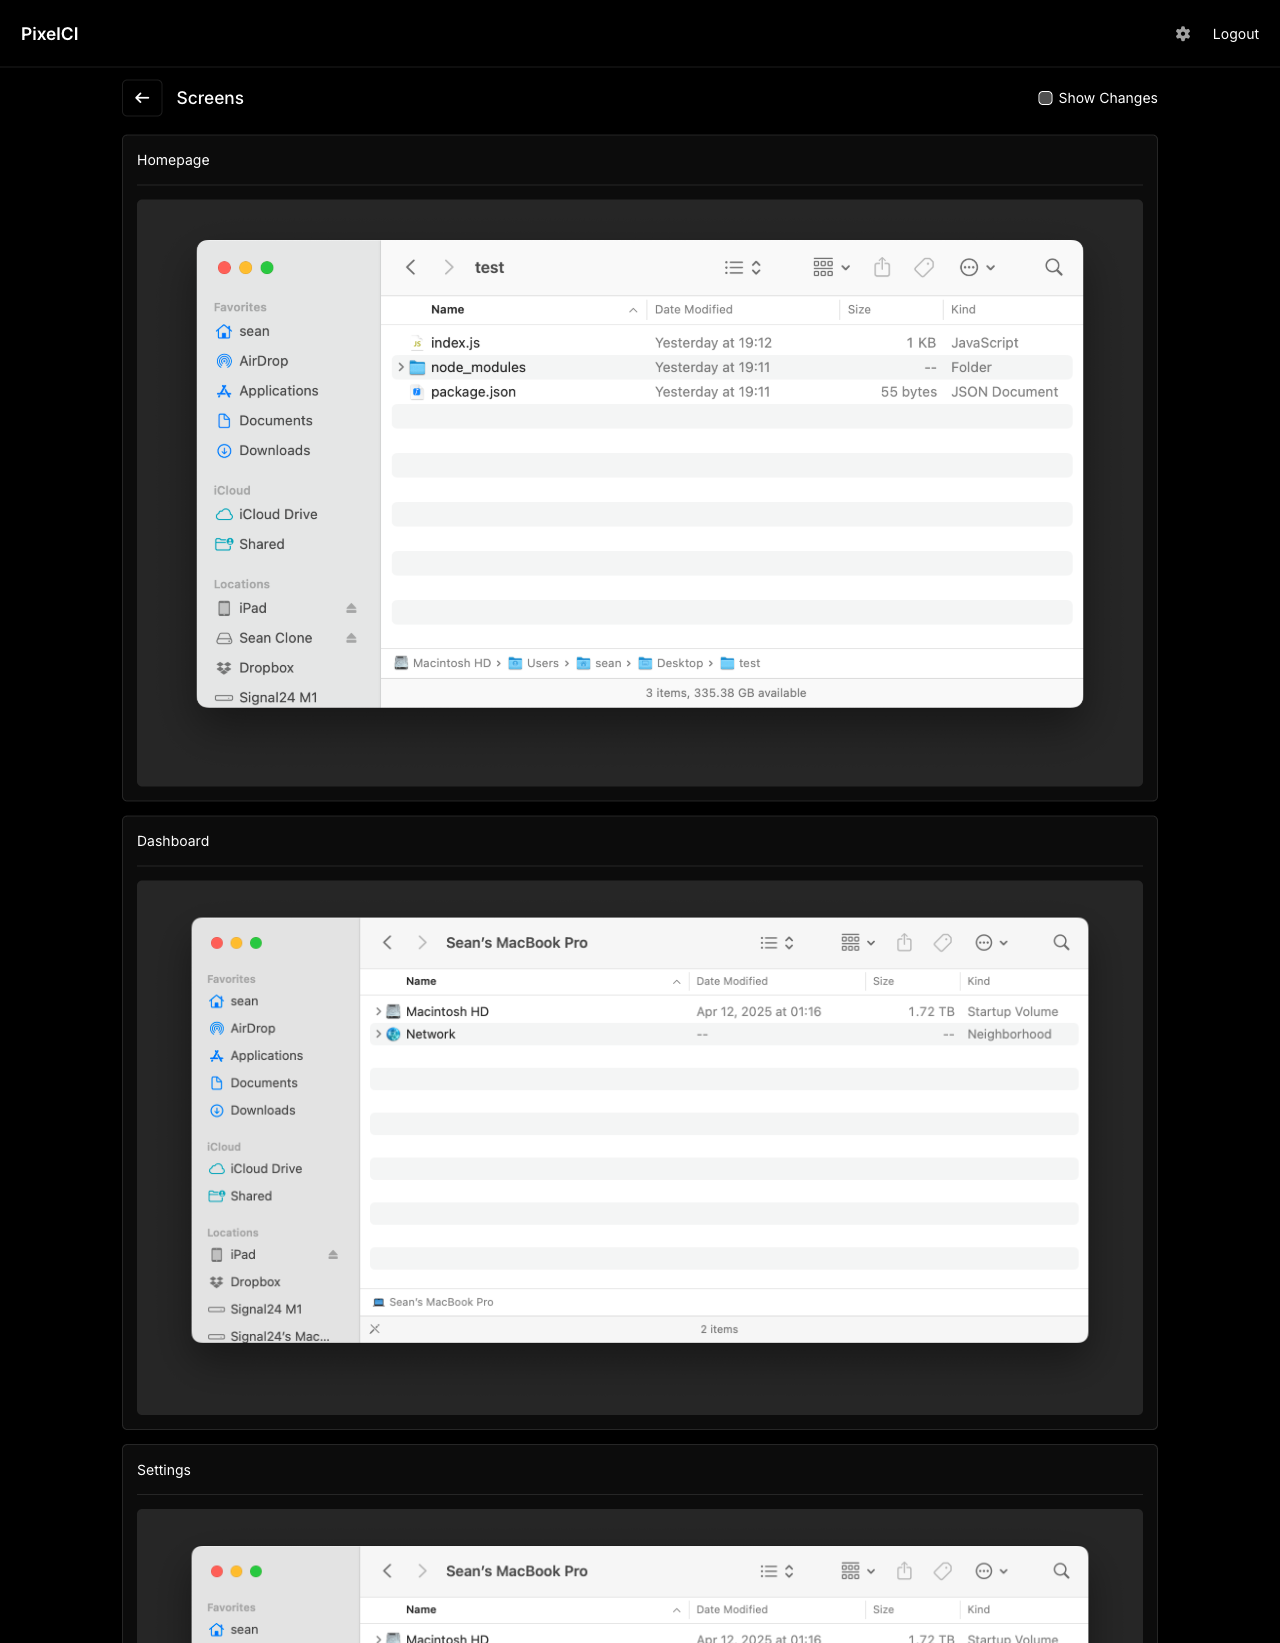
Uncheck Show Changes to view every screen in the build, including unchanged ones.
Reviewing Changes
When a build needs review, every changed screen has its own controls beneath the comparison: a comment box and Approve / Reject buttons.
- Approve or Reject each screen to record your decision. Type an optional comment first — it's saved together with the decision.
- Once you act on a screen it collapses so you can focus on what you haven't seen yet. Click it to expand again and change your decision.
- Reviewed screens show an Approved or Rejected badge, and the comment appears in the collapsed summary.
Approving the Build
The Approve button at the bottom of the build is enabled only once every changed screen has been approved — a counter shows your progress (e.g. "3 of 5 screens approved"). A rejected screen blocks approval until you resolve it.
Once the build is approved:
- The build status changes to Changes Approved
- The failed CI job is automatically restarted via the GitLab API, and you're redirected to the pipeline page
- Future builds on the same branch will compare against this build
- Other branches that produce the same visual changes will be automatically approved (cross-branch approval matching)
Carrying Reviews Forward
You don't have to re-approve the same screen on every build. When a new build is processed, any screen that was individually approved or rejected since this branch's last approval is pre-marked with that same decision (and comment) — as long as the screenshot still matches. Unchanged screens arrive already reviewed and collapsed, so you only review what's genuinely new.
Build Status Flow
Every build moves through these statuses:
draft → processing → no changes
                   → needs review → changes approved (after approval)
→ changes approved (auto-approved)| Status | Description |
|---|---|
| draft | Build created, screenshots being uploaded |
| processing | Comparing screenshots against baselines |
| no changes | All screenshots match — nothing to review |
| needs review | Visual differences found — human review required |
| changes approved | All changes approved (manually or via cross-branch matching) |
How Comparisons Work
When a build is processed, PixelCI runs a multi-stage comparison:
- Previous build on same branch — checks if changes match a previously approved build on this branch
- Default branch baseline — compares against the latest approved build on the default branch
- Cross-branch matching — looks for identical approved changes on other branches since the baseline
- New screen detection — screens not present in the baseline are flagged as new
Changes are flagged only when pixel differences exceed the configured threshold (default 1%). This approach minimizes false positives — once a change is approved anywhere, it's recognized across all branches.